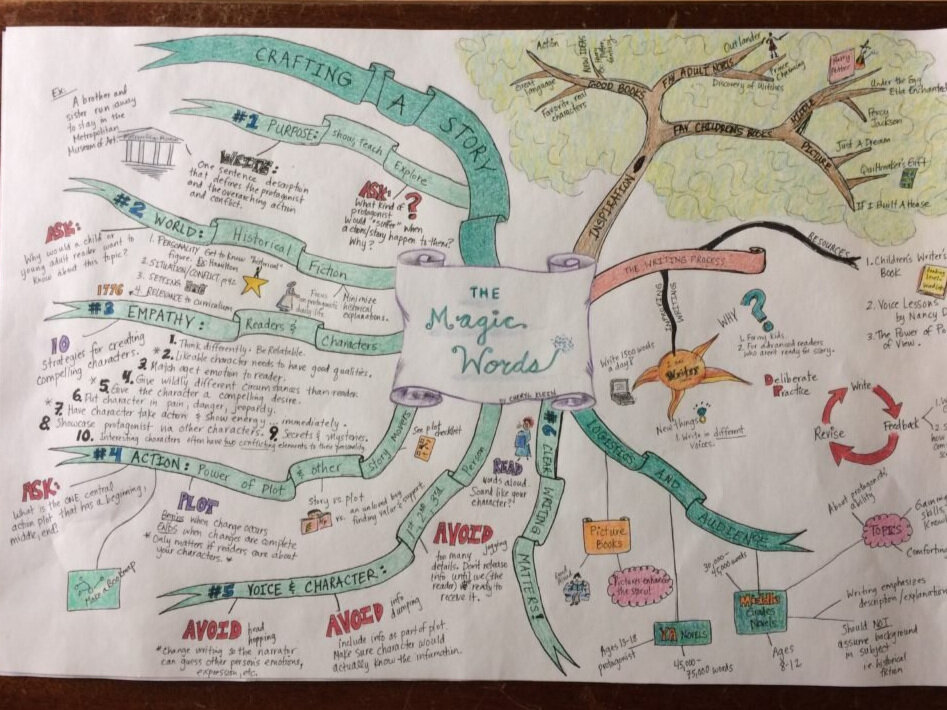
Mind Maps for Learning
When you are forced to synthesize the information you are reading or hearing, your brain forms new connections to that material (connect to science of learning post). It’s connecting the information you know with the new material you are learning. I wouldn’t recommend it for initial lecture-based notes, but it’s great for going back and really learning the material. It forces you to organize the information so that it makes sense. In effect, you are “studying” the material, but you get to do some art at the same time.
Step 1: Take Notes
A really good mind map starts with written notes. I teach my students to use the Cornell Method for taking notes since it provides an easy way to quiz yourself (and research shows that quizzing yourself is one of the most effective ways to learn the material). These aren’t in Cornell format, but I don’t need to quiz myself on the material…I merely want a reference for later.
Step Two: Pick Out the Key Points
As with most books, typically, you don’t need to memorize everything you read. Pick out the key points that you want to remember. It could be key dates or relationships. For my book, The Magic Words by Cheryl B. Klein, I wanted to remember some of the many tips she gave for crafting a successful children’s book. She has so much useful information, one could do a mind map on each chapter. I want something inspiring to hang over my desk. To nudge me when I get stuck.
Step Three: Make a Rough Draft
Now that I have the information, I need figure out how to organize it on piece of paper. Plus, I want to think about how to draw some visuals to go along with it. Visuals tend to stick in our minds better than words. According to Sketchnote Handbook author Mike Rhode, you don’t have to be an artist to make your notes more visually appealing. But since I like to draw, I’ve added in some sketches. For my first draft, I had to figure out how I was going to fit everything on the page. I knew I wanted to focus on the elements of crafting a good story, so I made sure to devote a large part of paper to those concepts.
This is super messy and sat in my book while I gathered more notes, hence the creases.
Step Four: Pencil, Then Pen
Since I like to change my mind a lot, I use a mechanical pencil to complete my final mind map. After I’m happy with the placement of information, I’ll use a variety of ink pens to outline the material. My current favorites are these Micron pens, purchased at my local art store. I like the variety of pens — each with a smaller nib. The 001 size was perfect for the fine writing I needed to include.
Step Five: Add Color
Once I outline everything in black, I like to go back and add color. In fact, this is probably my favorite part. I love a good coloring project.
I used Faber-Castell Polychromos color pencils to complete the map.


